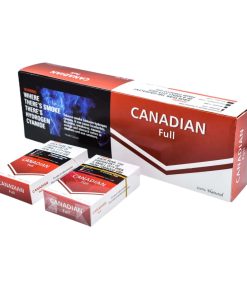
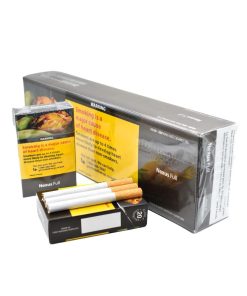
Buy Cigarettes Online in Canada at Native Cigarettes Near Me
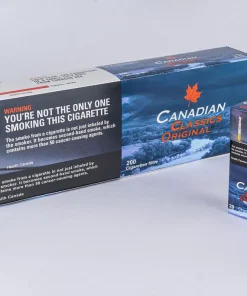
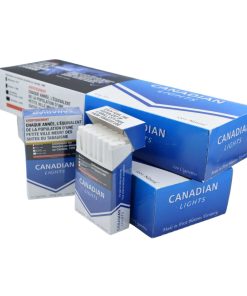
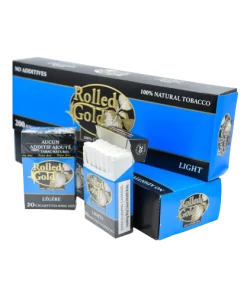
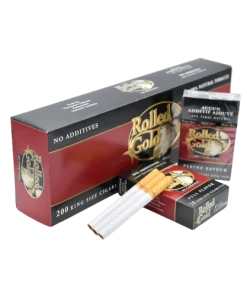
At Native Cigarettes Near Me, we supply Canadians with the most affordable selection on cartons of cigarettes. We are committed to providing our customers with a high standard of service with every transaction. We feature a range of premium tobacco products at exceptional prices to cater to your unique needs. Shop with us online today and get the cheapest cigarettes in Canada, for as low as $35 per carton.